Mastering the Art of Knife Sharpening Techniques

Effective knife sharpening begins with understanding your knife’s material and intended use. For instance, kitchen knives demand a different approach compared to pocket or hunting knives. Knowing these nuances helps tailor the sharpening method to the knife’s needs. Generally, kitchen knives are best suited with a fine edge for slicing, while outdoor knives require a sturdier bevel for durability.
To start the sharpening process, assess the knife’s current condition. A simple paper test can reveal if the blade needs sharpening: hold a piece of paper upright and attempt to slice through it with the knife. If the blade snags or struggles, it’s a sign that sharpening is necessary. This low-tech test is a quick indicator of knife performance.
Sharpening stones are indispensable tools for achieving a sharp edge. These come in various grits, typically ranging from coarse to very fine. Coarse stones (around 200-400 grit) are used to reshape a dull edge, while finer stones (1000-6000 grit) refine and polish the knife for a razor-sharp finish. Balancing the use of these stones is crucial for optimal results.
During the sharpening process, maintaining a consistent angle is critical. Most kitchen knives are sharpened at a 15 to 20-degree angle. A good trick to find this angle is to pretend you are slicing a thin layer of material from the stone surface; this naturally guides the knife at the correct angle. Handheld angle guides can also aid in keeping a steady angle.
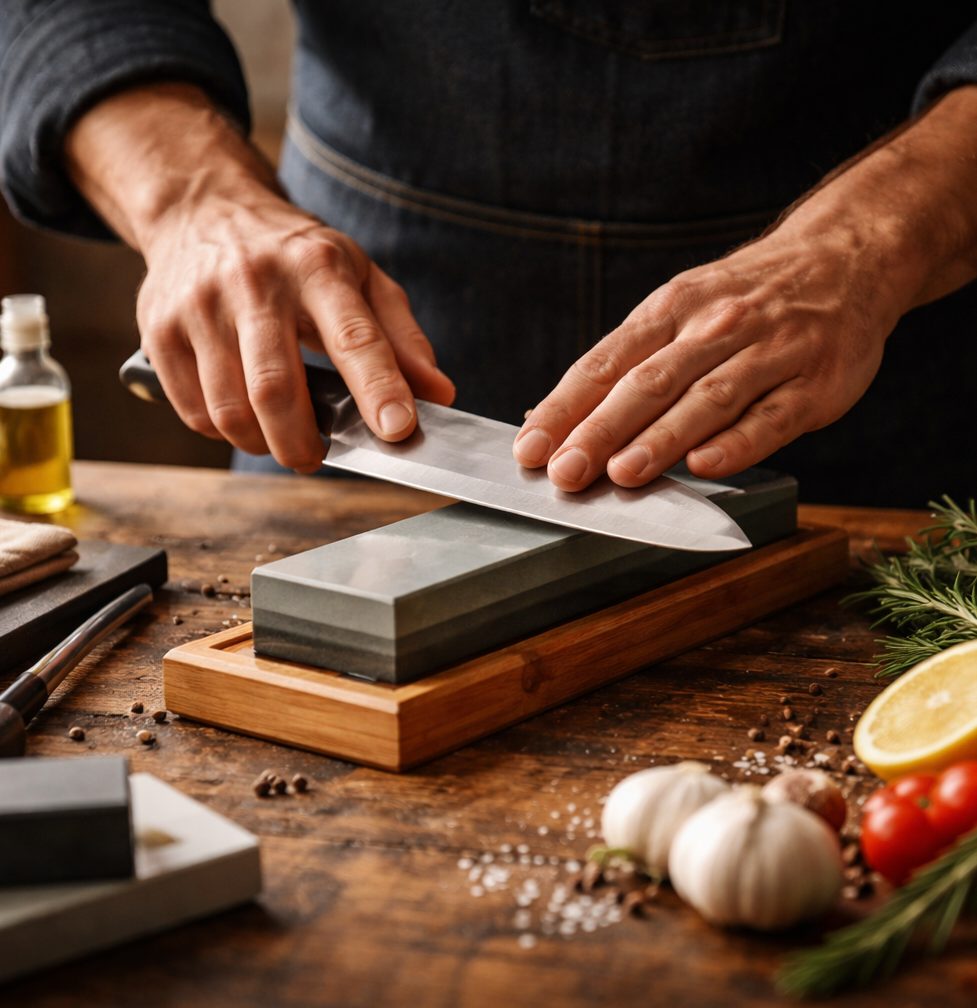
When using a sharpening stone, lubrication is essential. Water or oil helps float the metal filings, preventing them from clogging the stone’s surface. While some stones are designed specifically for water or oil, double-checking the manufacturer’s recommendations ensures you use the correct lubricant for your stone. Regular cleaning of the stones prolongs their life and effectiveness.
The sharpening motion should be gentle and even, applying minimal pressure. Drag the blade across the stone in a sweeping motion, as if slicing a thin layer from the stone’s top. Consistent strokes reduce the risk of unintentional blade nicks and promote an even edge. It’s vital to repeat this process for both sides of the blade, alternating after a set number of strokes to maintain balance.
A honing rod is another tool that complements regular sharpening. While not a substitute for sharpening, honing realigns the blade edge, prolonging the time between sharpening sessions. Honing is best done gently before each use of the knife, keeping it in prime cutting condition daily. Opt for a steel or ceramic honing rod depending on the hardness of the knife’s metal.
Testing the blade after sharpening ensures that your efforts have yielded the desired result. The paper test used during the initial assessment serves well for this purpose. Additionally, with practice, the feel of the blade on the stone can indicate when sharpening is complete—a tactile sign of mastery in this often-overlooked skill.
Knife storage is another essential aspect of maintenance. Avoid keeping knives in drawers where they can jostle against other utensils, dulling their edges prematurely. Instead, a knife block or magnetic strip provides a safe, accessible storage solution that keeps blades in top condition.
Sharpening knives effectively can significantly enhance both the safety and enjoyment of cooking. With the right tools and a bit of practice, anyone can master this skill, ensuring that each cut is precise and effortless. Remember, a sharp knife is a safe knife, reducing the risk of blade slippage and improving overall kitchen efficiency. Embrace the tactile satisfaction of sharpening; it’s an investment in better culinary experiences.